Whether you’re looking to escape the daily grind or simply feeling the itch for a new adventure, there is a simple cure: A road trip! Nothing beats the pleasure of ticking off every item on the road trip preparation checklist, charting your course, packing your essentials, and hitting the open road. For decades, road trips have been a favored way to spend holidays. They are the perfect way to escape the ordinary and embrace the unknown, with a sense of freedom and flexibility that will keep any wanderlust seeker thrilled.
Unlike public transportation or flights that come with schedules and limitations, road trips give you so much flexibility. You can set your own pace, take detours, and explore new places – all on your terms. A long road trip becomes an all-time choose-your-own-adventure experience, complete with pit stops for rest, food, fun, and games.
But, besides that, road trips have become the perfect way to bond with your loved ones while escaping the confines of everyday life. There is a whole culture behind trips, with countless movies, books, and songs that celebrate the open road and the sense of adventure. If you intend to travel with family, you can hop in one of the top family minivans and SUVs. During the summer, you can take the top off these best road trip convertibles and enjoy the breeze and scenic symphony.
Planning a road trip can be an exciting adventure, but it’s important to ensure your car is up for the challenge. Preparing your car for a road trip is like planning a first date: you want to make sure your car is looking and running its best.
We’ve put together a guide on how to prepare your car for a road trip. From checking the tires to inspecting the fluids, our road trip preparation checklist covers everything you need to know to get your car ready for the open road.
1. Check Engine Oil
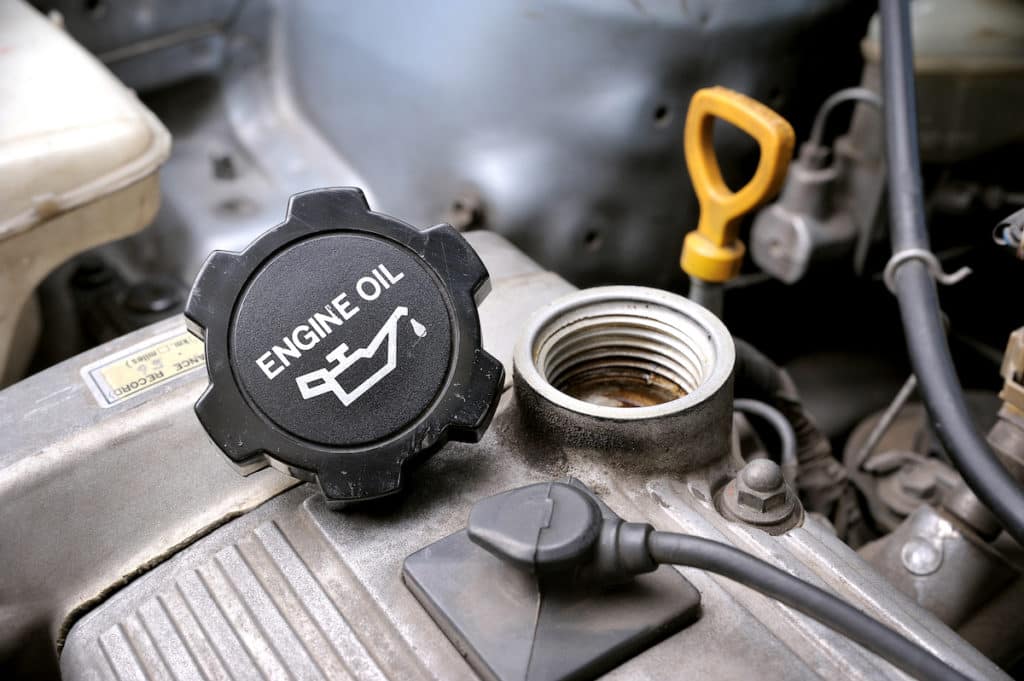
Before you embark on your adventure, it’s crucial to check your vehicle’s engine oil level. Maintaining the right levels of this oil is essential for the optimal functioning of your car. This point should be at the top of your road trip preparation checklist. Engine oil plays a vital role in lubricating various components of your vehicle engine. If your car’s engine is well-lubricated, it will burn fuel more effectively, giving you a better overall engine performance.
Neglecting to check your car’s engine oil would result in friction between the engine components. This metal-on-metal wear will lead to engine damage. Not only will these be costly repairs, but they also pose a significant safety risk to you. Therefore, top up the engine oil with the relevant grade for your engine. To find the relevant engine oil grade for your engine, check the owner’s manual/handbook. Sometimes, this information is even printed on a plaque in the engine bay of the car.
How to Check Engine Oil
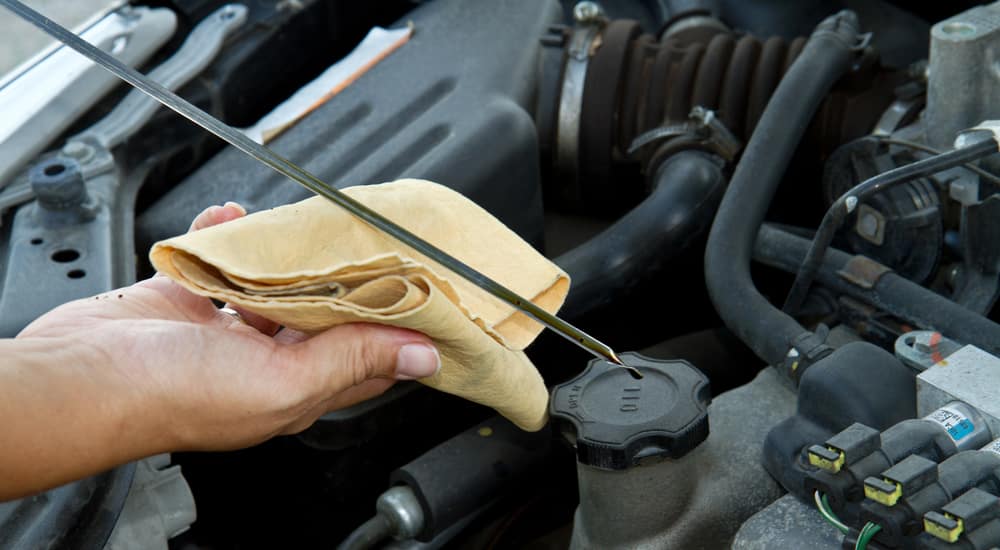
First, find the dipstick. In most cars, the dipstick is conveniently placed near the engine. Once you locate it, pull it out. Wipe it clean with a cloth, reinsert it, and pull it out again. Check that the oil level is between the two marks on the dipstick. If it’s low, add the recommended oil for your car’s make and model.
2. Check The Engine Coolant
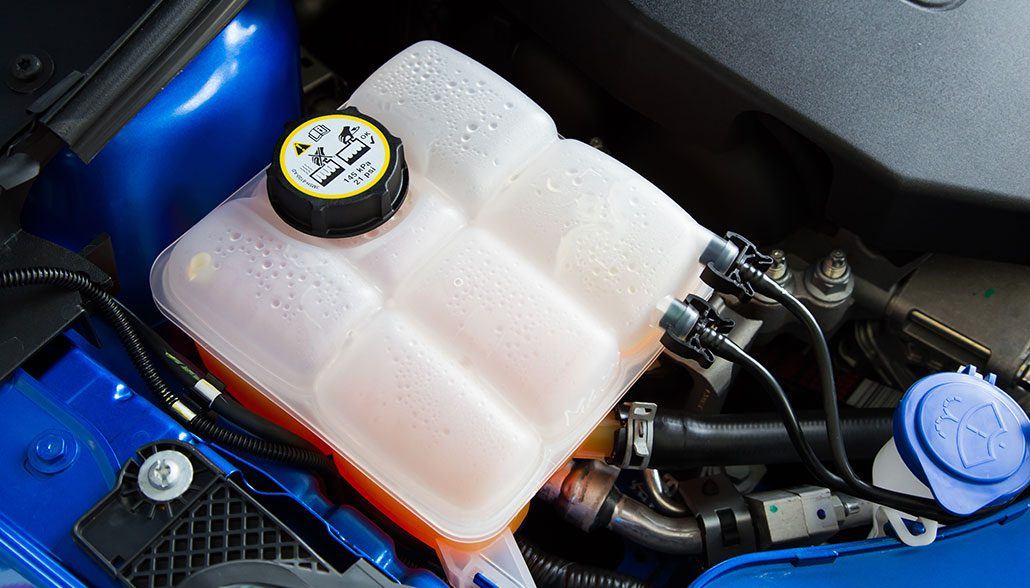
As the name states, the purpose of your car’s coolant is to regulate the temperature of the engine and prevent it from overheating. What makes up the coolant? Well, the coolant, also known as antifreeze, is a mixture of water and ethylene glycol. Instead of the latter, some coolants may have propylene glycol, which has a higher boiling point and lower freezing point than water. This characteristic allows the coolant to keep the engine at a more stable temperature range, even in extreme weather conditions.
How To Check Your Coolant:
This is one of the easiest things to inspect. Locate the coolant reservoir under the hood of the car. The reservoir is usually a translucent plastic container with a cap marked “coolant.” Check the coolant level. If the level is low, add a 50/50 mix of coolant and water. We recommend checking this when the engine temp is low. Also, check the color of the coolant. If the coolant is dirty or discolored, it may need flushing and replacing.
3. Check The Brake Fluid
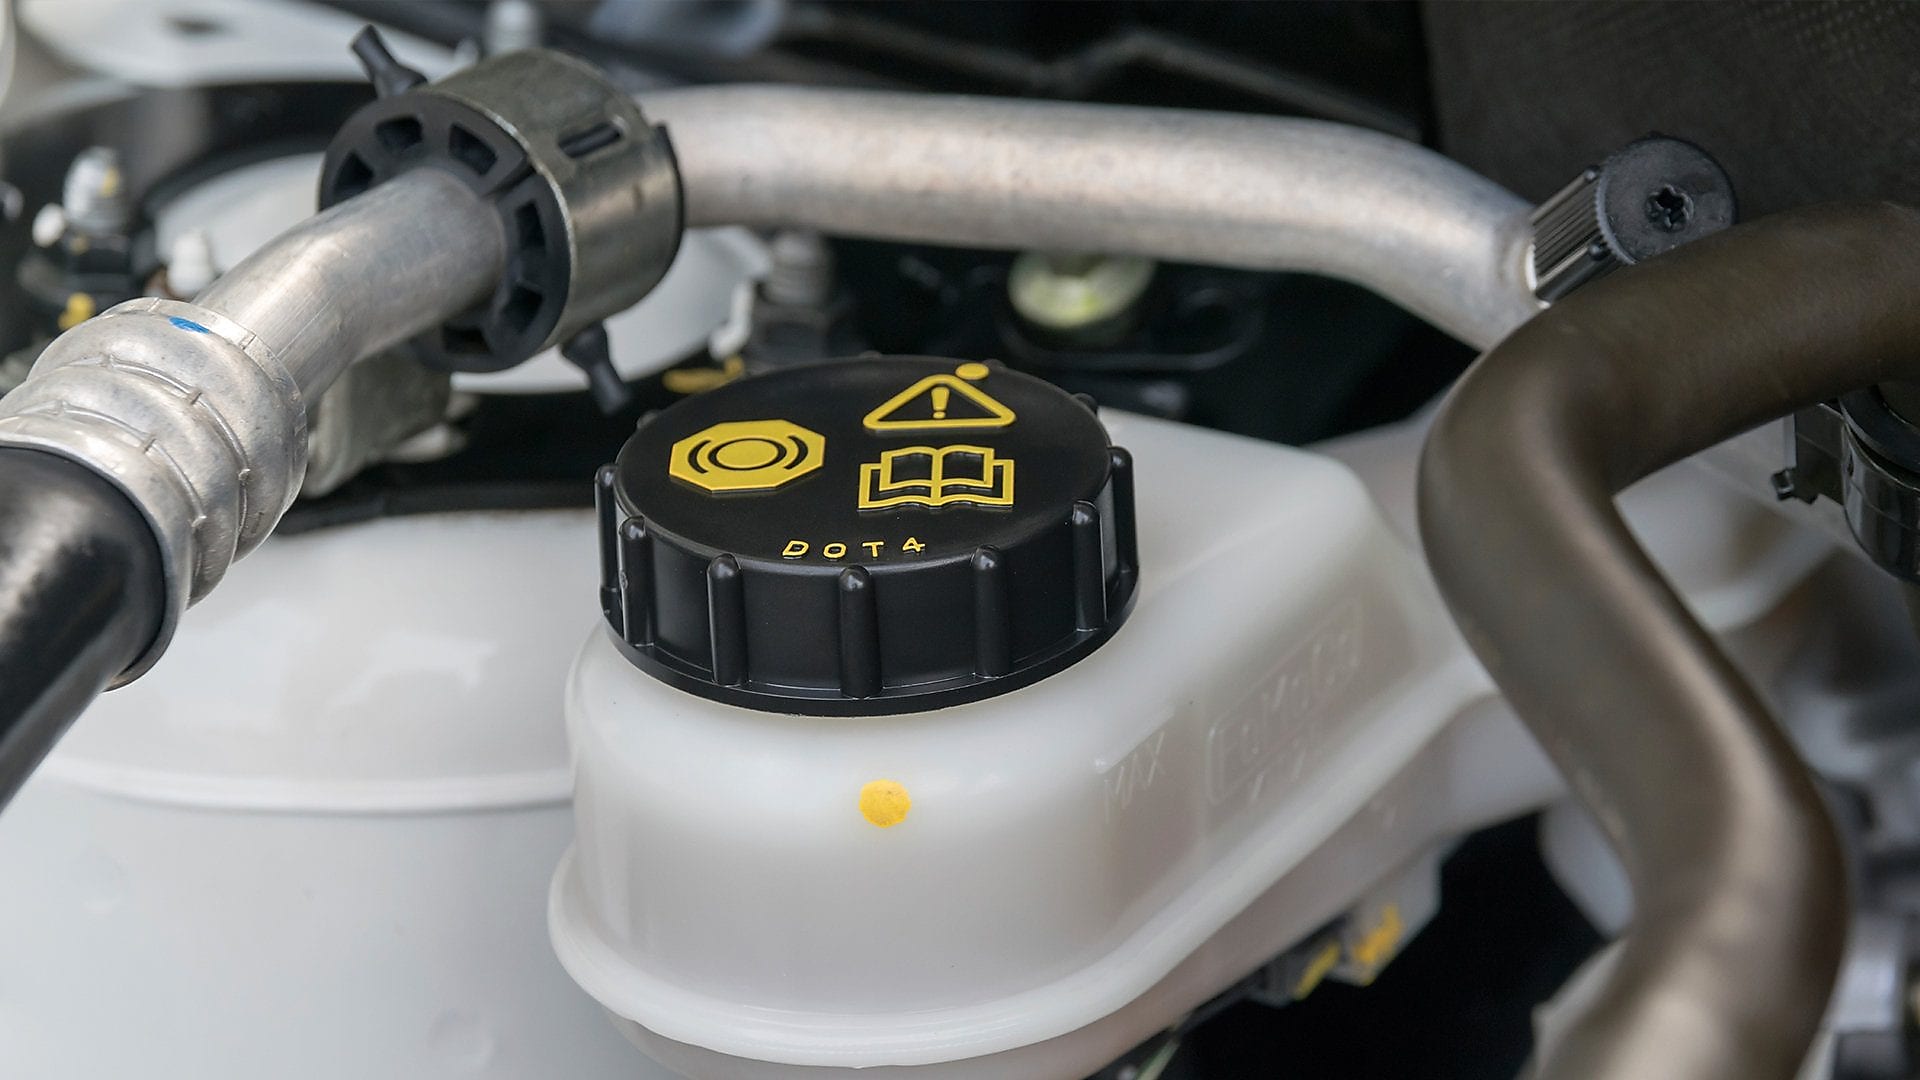
Checking and maintaining the brake fluid level is essential in ensuring that the brakes are functioning properly. Unlike the other fluids explained above, brake fluid is a hydraulic fluid that is used to transfer force from the brake pedal to the brake system components. These include the brake calipers and wheel cylinders. This allows you to slow down or stop the vehicle properly.
How To Check The Brake Fluid
First, ensure you’ve parked your car on a level surface and turned off the engine. Then, locate the brake fluid reservoir. In most cars, you can find the brake fluid reservoir under the hood near the windshield and the driver’s side of the engine compartment. It will usually have a cap that is marked with the words “brake fluid”.
Check that the fluid level is between the minimum and maximum marks on the reservoir. So you’re the best judge here. If the brake fluid is low, we recommend topping it up for your car’s make and model.
Brake fluid is hygroscopic. What do we mean here? Well, Hygroscopic liquids absorb moisture from the air over time. In the brake system, this can lead to the formation of rust and other contaminants. Not only will this cause massive damage to the brake components, but it will also reduce braking performance over time. On average, brake fluid can last up to 4 years. It is important to check the brake fluid level once a year. Also, check during every oil change and before going on a long trip. Don’t be the driving equivalent of a magician who forgot to refill their wand. Lol. So check your brake fluid level regularly! Skipping this crucial step could leave you with decreased braking power and in a dangerous situation, faster than you can say “Abracadabra!”
4. Check The Transmission Fluid
The transmission system is an important component of a car’s drivetrain that transfers power from the engine to the wheels. Transmission fluid is a specialized lubricant that plays the role of cooling, cleaning, and lubricating the various components of a car’s transmission system. Transmission fluid is a mixture of base oils and additives. Without transmission fluid, the transmission components would quickly overheat and wear out. This would cause the entire transmission to fail, leading to an expensive repair bill.
Road Trip Preparation Checklist: How To Check Transmission Fluid
This info isn’t displayed on your car’s cluster, so you’re going to have to pop the hood open. First, locate the dipstick for the transmission fluid. This is typically located near the back of the engine bay. In most cars, it may have the “Transmission” or “ATF” label.
Once you locate it, pull out the dipstick and wipe it clean with a lint-free cloth. Re-insert it and pull it again. Check that the fluid level is between the two marks on the dipstick. Some newer vehicles don’t have dipsticks and instead may require a special tool to check the fluid level.
If the transmission fluid is low, add the recommended transmission fluid for your car.
5. Check The Power Steering Fluid
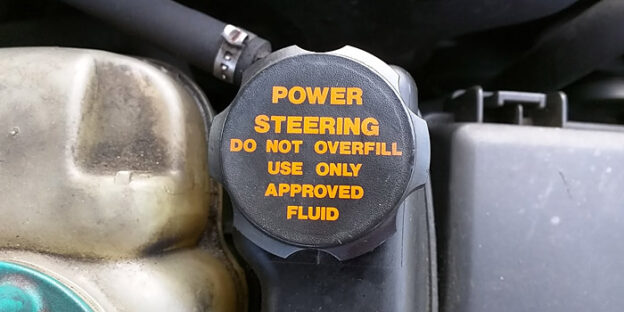
The power steering system is a critical component of a car’s steering mechanism. This specialized fluid helps drivers steer their vehicles more easily and with less effort. So how does power steering fluid work? It transfers the hydraulic pressure created by the power steering pump to the power steering gear or rack, which assists in turning the wheels. It is important to check the power steering fluid level regularly, especially before embarking on your great adventure.
How To Check Power Steering Fluid
This is an easy breezy check. First, locate the power steering fluid reservoir. It is usually located near the power steering pump. Some come with a label indicating “Power Steering Fluid” or have a steering wheel icon. Once you find it, remove the cap from the power steering fluid reservoir. There are two ways of checking the fluid level: by looking at the dipstick or level markings on the reservoir itself. Some vehicles have a dipstick attached to the cap.
Regardless, make sure the fluid level is between the minimum and maximum marks on the reservoir. Use a funnel to pour the fluid into the reservoir. Be careful not to overfill the power steering fluid. If you don’t have a clue about the type of power steering fluid for your car, refer to the owner’s manual, or check online.
6. Check The Windshield Washer Fluid Level
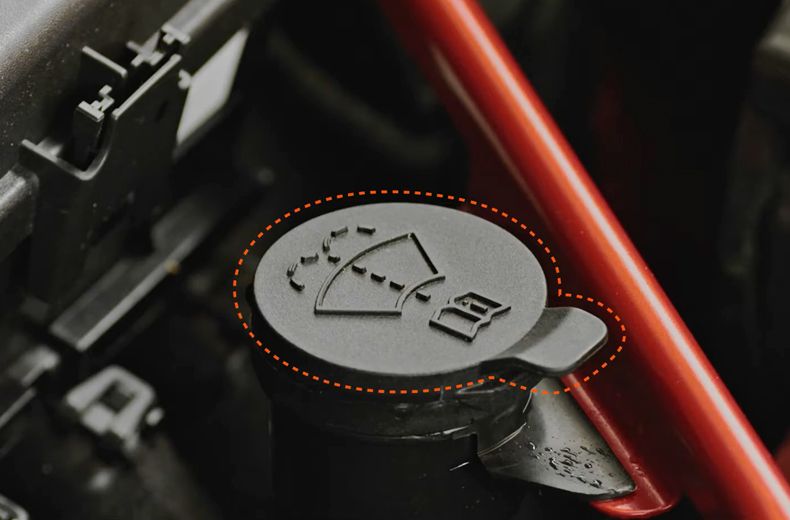
Windshield washer fluid helps drivers achieve the highest level of driving visibility, even in the face of bug splatters, bird droppings, and other road grime that can obscure the view of the road ahead. Having windshield washer fluid is almost like having a little magic potion in a bottle to keep the windshield clear and sparkling clean!
In addition to helping drivers see more clearly, windshield washer fluid lubricates the windshield wiper blades. This prevents them from getting worn out too quickly.
How To Check Windshield Washer Fluid:
Checking the windshield washer fluid level is a simple process. Open the hood and locate the windshield washer fluid reservoir. It should have a label indicating “Windshield Washer Fluid”. Some simply have a windshield wiper icon. Check the windshield fluid level by looking at the fill line. Here, you want the level to be between the “Min” and “Max” markings or within the crosshatched area on the dipstick.
7. Inspect Tires (Pressure, Tread Depth, Wear)
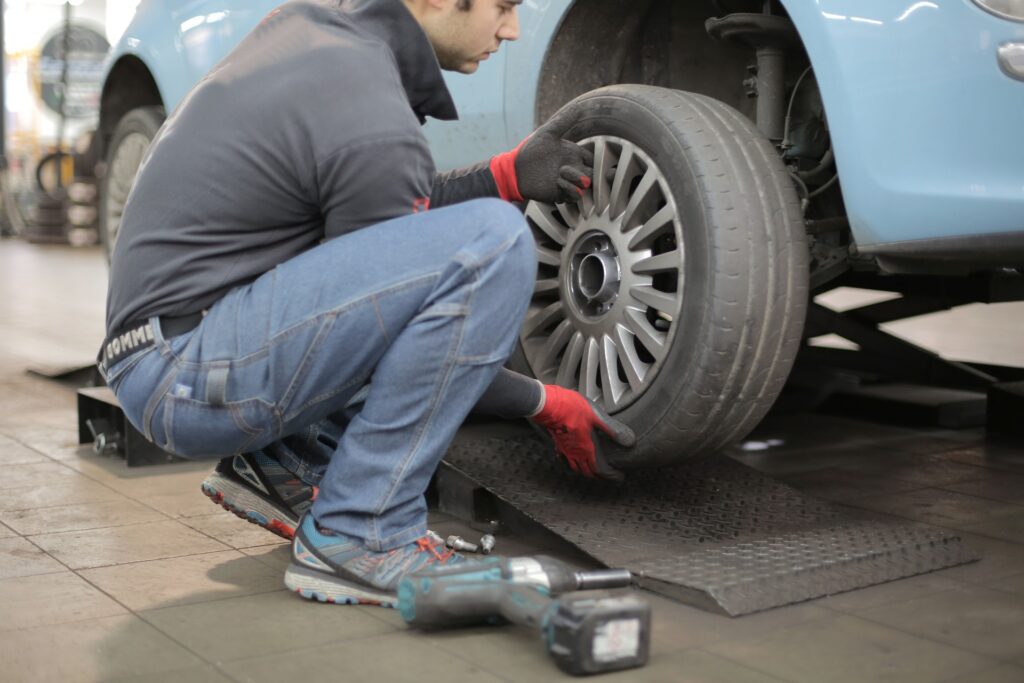
Tires are the only contact point between a vehicle and the road. They also play a critical role in the vehicle’s handling, stability, and safety. As such, it is important to inspect tires regularly. Neglecting the tire conditions would bring issues like tire failure, such as a blowout. This is the absolute worst-case scenario as it can result in loss of control, accidents, and serious injuries.
Besides that, tire inflation affects your car’s fuel economy. That’s right. FuelEconomy.gov says under-inflated tires lower gas mileage by about 0.2%. So, there are a couple of things you ought to check, such as tire pressure, tire wear, alignment, and balance, as well as age and condition.
Road Trip Preparation Checklist: How To Inspect Tires
To check tire pressure, use a tire pressure gauge. Adjust the tire pressure using an air compressor or a tire inflator. This will ensure that each tire is properly inflated to the recommended level. What is the recommended tire pressure? To find the recommended tire pressure for your vehicle, refer to the tire information placard in the driver’s door jamb.
To check the tire tread depth, use a tread depth gauge. The recommended minimum tread depth is 2/32 of an inch or more. Also, inspect signs of tire wear, such as bald spots. If the tire seems worn out on one side, it could be an indication of an alignment issue or a suspension problem. This brings us to our next point.
8. Check The Brakes And Suspension System
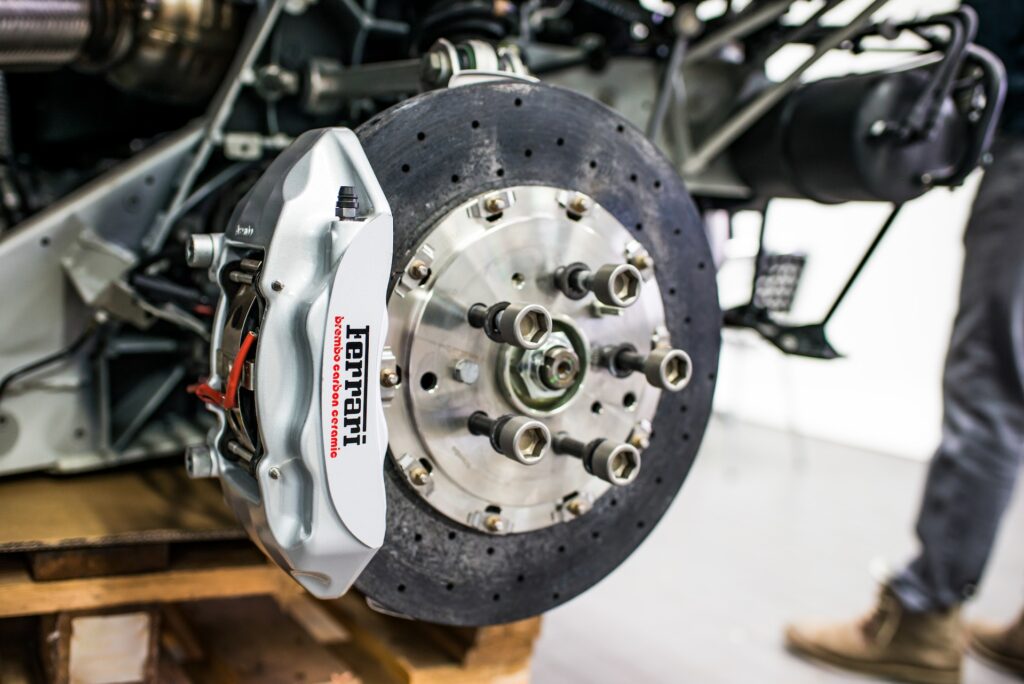
The brakes and suspension system are two of the most critical components of a car’s safety and performance. While the brakes help slow down and stop the car, the suspension system helps maintain stability, control, and comfort while driving.
How to Check Brakes And Suspension System
There are a couple of ways of doing it.
- Visual inspection: Check the brake pads and rotors for wear and tear. If the pads are too thin or the rotors are warped or damaged, you will have to replace them. Also, check the suspension system for visible damage or signs of wear.
- Test Drive: This one is a no-brainer. Get behind the wheel and drive at a slow speed. Regularly, apply the brakes firmly to test their strength and responsiveness. You want the brakes to feel firm and should bring the car to a stop smoothly. Listen for any unusual noises. Any squealing or grinding sound could indicate a problem with the brake system. And while you are at it, pay close attention to how the car handles. Does it sway or lean too much when taking turns? Does it bounce too much over bumps? These are signs of suspension problems. We recommend finding an empty parking lot or quiet road where you can test the brakes and suspension system safely.
9. Check Battery And Charging System
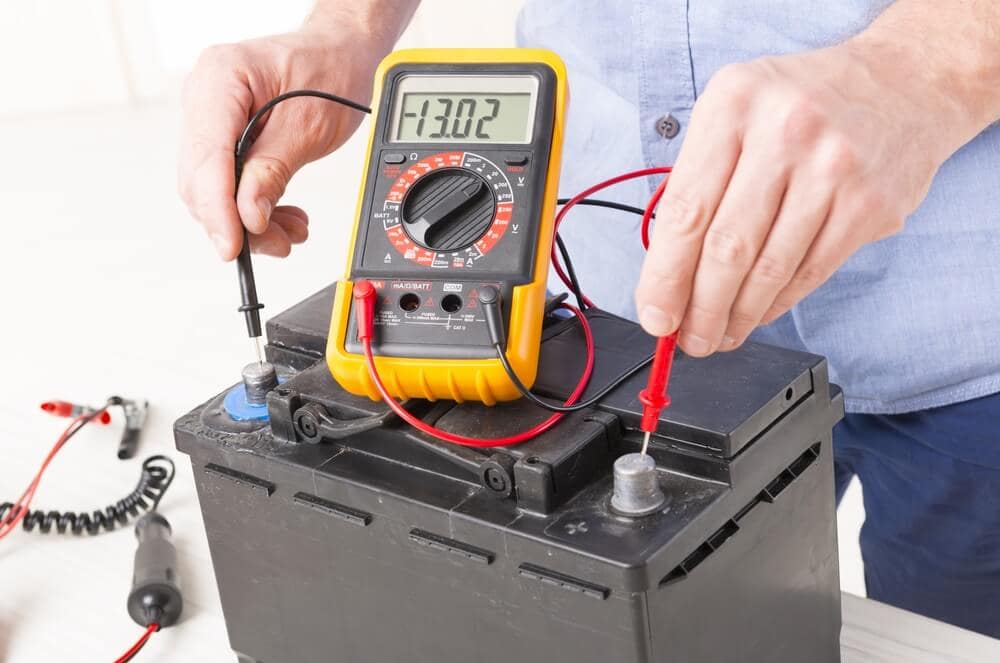
Your car’s battery is like your car’s unsung hero, silently providing the power needed to get you going and keep you cruising in style. But if it’s weak or dead, you’ll be stranded faster than a cheetah on roller skates. So, before you hit the open road, give your trusty battery and charging system the once-over to ensure they’re in tip-top shape. With a little preventive maintenance, you’ll be ready to go the distance and enjoy all the electronic bells and whistles along the way. Check your car’s horn and air conditioning system too.
Road Trip Preparation Checklist: How To Check Your Car’s Battery And Charging System:
To check the car’s battery strength before going on a trip, first turn off the engine and all electrical components that depend on the battery. Then, open the hood and locate the battery. This should be an easy find. Once you locate it, check the battery’s terminals for signs of corrosion. If there is a rust buildup, clean the terminals with a wire brush with a mixture of water and baking soda.
Use a voltmeter or a multimeter to test the battery voltage. These instruments are relatively easy to use. All you have to do is attach the red lead of the voltmeter to the positive terminal of the battery and the black lead to the negative terminal. Make sure the reading is between 12.4 and 12.7 volts for a fully charged battery.
10. Pack Emergency Kit
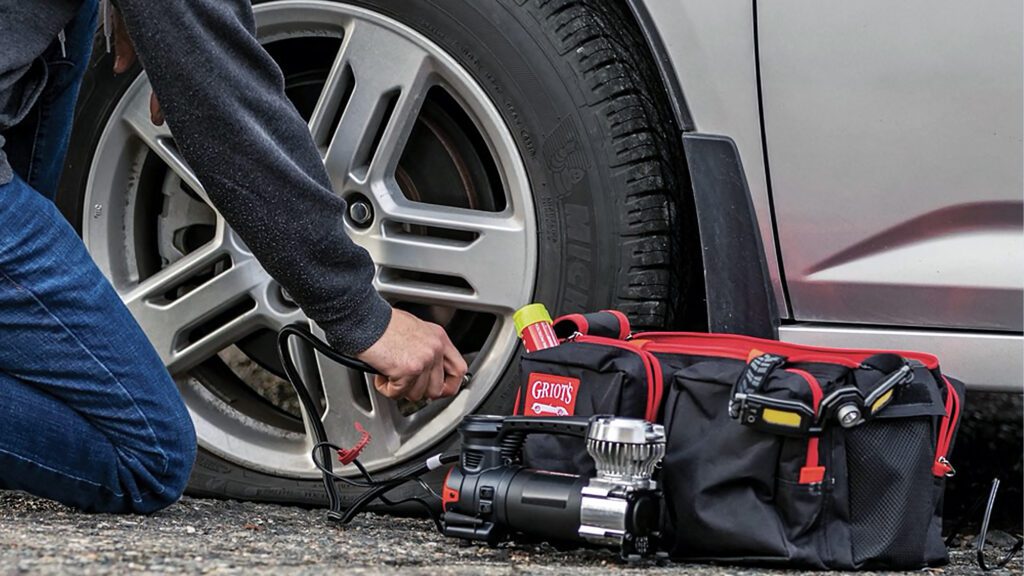
We conclude our road trip preparation checklist with an emergency kit entry. While on a long trip, you may experience a dead battery, flat tire, or engine trouble. It is in such scenarios that an emergency kit comes in handy.
Packing an emergency kit is like insurance for your road trip. It may not be the most glamorous part of your journey, but it’s an essential safety net that can save you from disaster. After all, it’s better to have jumper cables and not need them, than to need them and not have them!
So, before you hit the open road, take a few minutes to pack an emergency kit, and you’ll be ready for whatever the road throws your way. Check out the best car emergency kits on Toms Guide.
Your emergency kit should include:
- Jumper cables
- Flashlight and extra batteries
- First aid kit
- Reflective warning triangles or flares
- Tire repair kit or spare tire
- Multi-tool or utility knife
- Duct tape
- Blanket or sleeping bag
- Bottled water and non-perishable snacks
- Portable phone charger or backup battery
- Cash or credit card
- Maps or GPS device
- Extra clothes and shoes
- Fire extinguisher (optional)
- Portable air compressor (optional)
Hopefully, this list will make your next road trip easy. Happy Travels!


