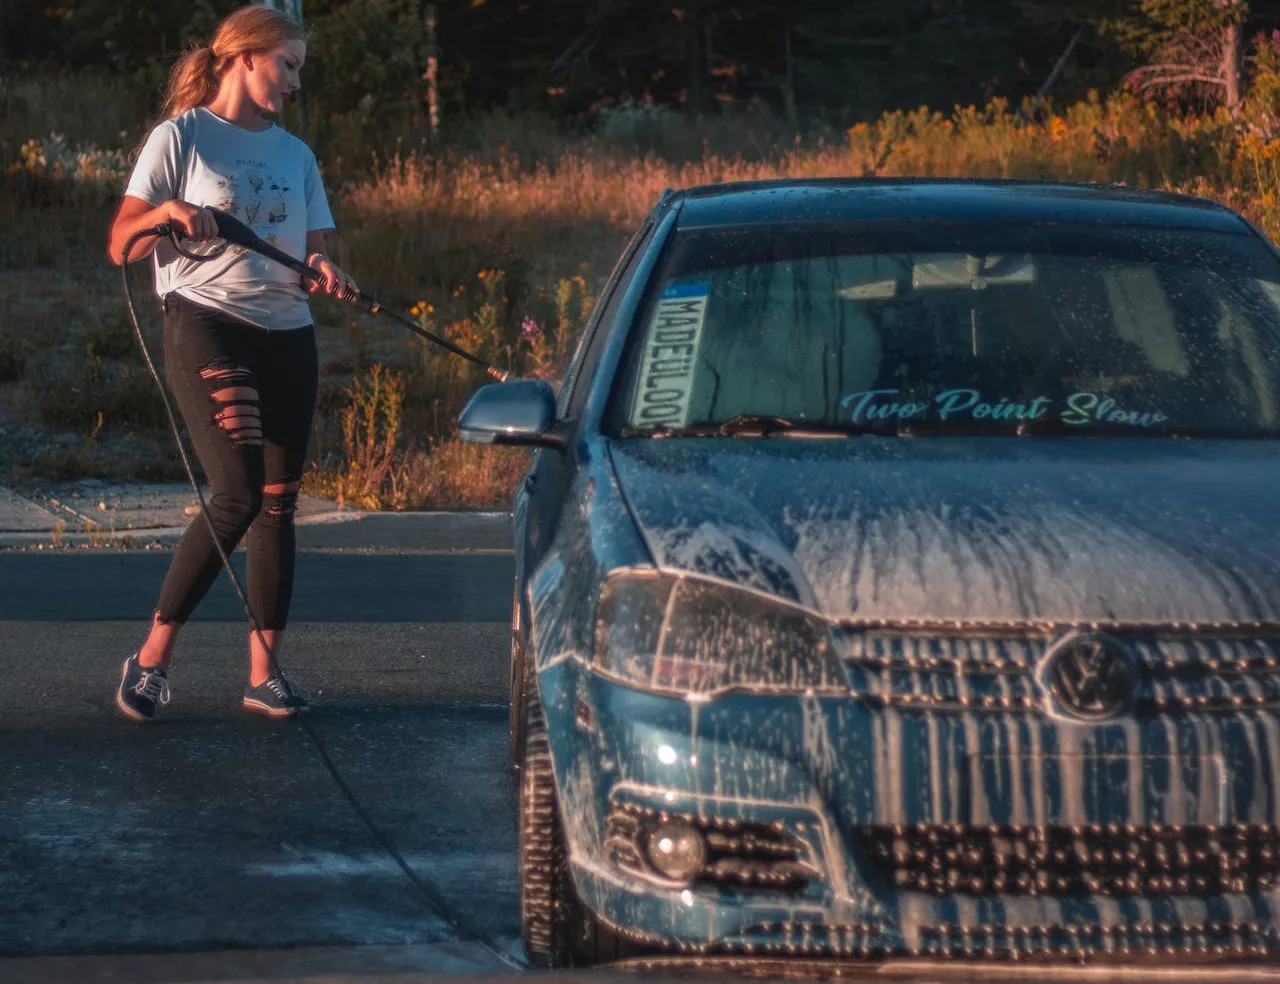
As a car owner, you always want your car to look its best. That’s where a car wash comes in to give it a good shine. The good news is that you don’t always have to visit your professional car wash to achieve that shine. With the right tools at hand and a little effort, you can effectively wash your car by hand.
Maintaining your car’s “showroom shine” isn’t only essential when you want to sell your car. Washing your car is for anyone who wants to look dapper as they cruise around town. And for a shinier look, washing your car can set the foundation if you plan on waxing your car. So you want to wash your car by hand? Well, you’re in the right place. Let’s dive into the world of DIY car washing.
This car washing guide will take you through the steps to ensure your vehicle is in top condition. Without further ado, here’s how to wash your car by hand.
Step 1: Start With The Wheels And Tires
Because the wheels tend to accumulate the most grime, start your car’s wheels and tires. Start by using a hose equipped with a nozzle that delivers ample water pressure. With this hose, spray away dirt and debris from the wheels.
Direct your attention to the wheel wells and undercarriage as well. These areas often harbor brake dust, dirt, and remnants of road salt left behind from winter. A thorough cleaning here ensures you remove any stubborn contaminants.
When cleaning the wheels themselves, consider using a specialized cleaner designed for tires. But before cleaning the tires, consult your owner’s manual. This way, you’ll know if there are any specific recommendations. Also, some cleaners work best for particular paint finishes or types of aluminum, so checking will keep you safe.
This attention to detail prevents potential accidental damage that would come from using the wrong product.
Note: Once you’ve cleaned the wheels, set aside the mitt or chamois you used for this task. This precaution prevents the risk of transferring tire dirt and debris to the rest of your car. In worst cases, this transferred debris could scratch your car’s paint.
Step 2: Spray Your Car With Water
Now that you’ve finished cleaning the wheels, it’s time to start the body itself. Before you get any soap on it, start by spraying your entire vehicle with water. Spraying your car with water serves a dual purpose: First, it rinses away surface dirt. Secondly, spraying your car with water creates a thorough water coating on your car. Pay close attention and make sure to spray every part of the vehicle.
Step 3: Prepare two Buckets And Use The Right Amount Of Cleaning Product
Once you’ve sprayed the car with water, prepare two buckets of water. In one bucket, add your car-cleaning soap. And in the other bucket, just keep the water without soap.
On a side note, we recommend using a cleaning solution specifically formulated for cars. Don’t use household cleaning solutions. These often strip off paint and cause long-term damage. Since professional car cleaning solutions are for cars, they offer the advantage of allowing water to sheet and bead off the surface. In the end, your car dries faster. On the other hand, it also minimizes water spots.
Also, when filling the buckets, ensure that you’re using the appropriate amount of solution. How will you know it’s the right amount? Well, follow the cleaner’s instructions. Lather up your mitt or chamois using the bucket with soapy water. The other bucket filled with clean water serves to rinse off dirt and debris from the mitt after cleaning each section. Make sure the cleaning mitt is free of dirt. Any embedded debris stuck on the mitt can potentially scratch the car’s paint during the cleaning process.
Step 4: Wash Your Car in Sections
To wash the car effectively, work your way down and clean it in sections. Begin with the roof. Utilize the mitt to make one gentle swipe. Then, flip it over for another swipe before you proceed to rinse it. Avoid any vigorous scrubbing or rubbing. After completing each section, rinse that area to prevent soap residue from accumulating. Since the car’s rear often has more dirt, clean this area last.
If the mitt happens to fall on the ground at any point during the cleaning process, make sure to rinse it thoroughly. This way, you will prevent any residual debris from scratching your car.
Step 5: Rinsing
Once you’ve cleaned each section of the car, remove the nozzle from the hose. Since this means the water will be free-flowing, rinse the entire vehicle. As you did when applying the soap, rinse your car in sections. We recommend starting from the roof and working your way down. Make sure that no residual soap is left behind.
Step 6: Drying
The final step in hand washing your car involves drying the vehicle using a dry chamois or a microfiber cloth. Gently and thoroughly dry the car by draping the cloth over the surface. When draping, apply minimal rubbing or pressure. Periodically squeeze the water out of the cloth as you continue the drying process. Also, consider drying your car in sections to avoid missing a spot. The result will be a streak-free finish that shines.
A side note: you should avoid using household towels.
It’s an unfortunate reality – right after you’ve cleaned your car, a flock of birds may decide to fly over and leave their unwanted marks. While it is beyond your control, wipe off bird droppings right away. Since bird droppings are highly acidic, they can damage your car’s shine.
But, hey, that’s it. You have successfully washed your car. Your car will be shining like a superstar.


